|

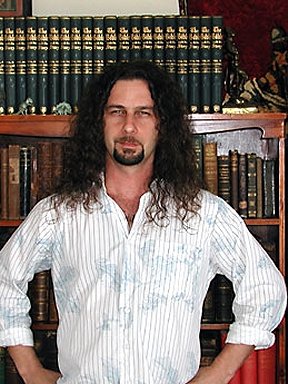
Alternate Uses for Bookends
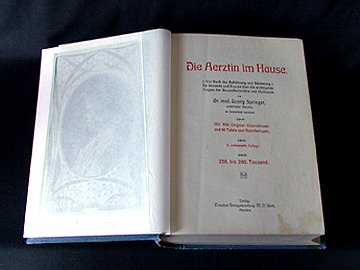
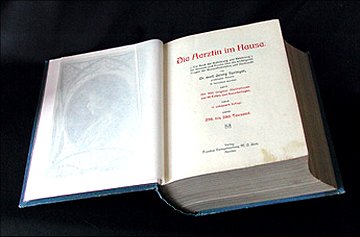
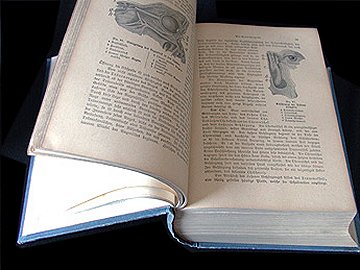
Perhaps, like me, you have run into some problems when attempting to photograph thick books. The book shown here is Die Aerztin Im Hause by Doctor Jenny Springer, circa 1910.
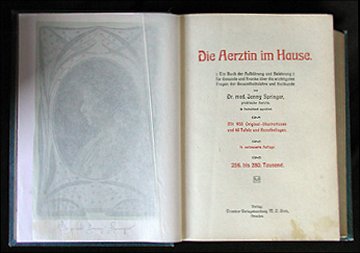
The English translation of the title is "The Lady Doctor in the House." The text is in German, and it's loaded with awesome, freakish woodcuts and beautiful color plates of skeletons (both adult and child), skulls, internal organs, birth defects, abnormal growth of bones, giant tumors and goiters, abnormal hair growth on the faces and backs of women, strange contraptions for correcting posture, child birth, medicinal plants, mushrooms and more. Since this is a foreign book, it will be difficult to include much textual information about it, so I will want to include many photographs of its illustrations from cover to cover. A problem arises, however, when trying to photograph the pages that are closest to the covers. In this picture I am supporting the cover of the book because I don't want to damage it by letting the cover open too much. If there are joint or hinge problems, this could cause additional damage.
If I'm sure that there will be no damage caused by letting the cover touch the surface, I can photograph it like this:
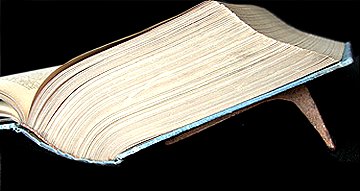
But to my eye, the differing angles of the top edges of these two pages makes for an unappealing photograph. My solution is to use bookends for creating a handy book cradle or book support.
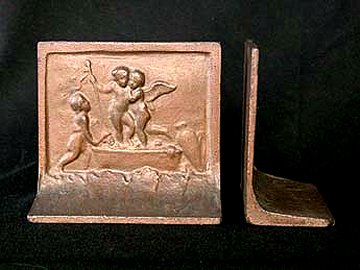
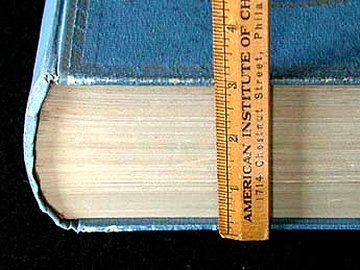
These are four inches high with a two inch wide base. The exact measurements aren't important, but the shallow embossed design is as it will not interfere with the unconventional position that I place them in to create the support. This is the method I use to correct this problem. First I take one book end and place it so that it is tipped over, creating a ramp. This ramp is then placed underneath the cover of the book that is supporting the bulk of the pages.
Here is how this appears from the top:
The top edges of both pages are now in a straight line, and I'm ready to take the shot. By standing over the book and matching my camera's angle to the angle of the ramped book, I frame an object that is square to the edges of the image borders. A slight rotation of the image may be necessary to perfect the shot.
As I began turn pages and attempt to take pictures of illustrations, another problem arises. The pages on the left side of the book don't want to stay put.
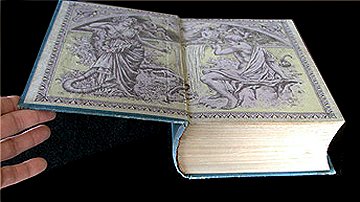
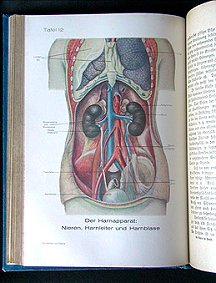
This problem is easily rectified by employing the bookend as a support. Placing the ramped bookend under the rear cover, as shown above, will allow the book to remain open. Of course, anything can be used to prop the covers, but the bookend is a natural and handy solution. It also provides a surprising amount of flexibility, as I will show you later. This photograph shows a color plate of internal organs nearer the center of the book.
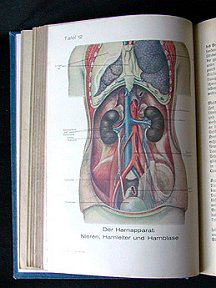
Most of the pages are still on the right hand side of the book, resting on the back cover. Because of the curvature of the upper and lower page edges, this photograph is not as appealing to me as it could be. The book looks as if the pages are taller at the spine than at the fore edge. You may ask, "Why not crop the photograph to remove the problem?" There are two good reasons. First the upper and lower edges of the color image as it appears on the page would exhibit the same curve as the upper and lower page edges. With no frame of reference this sometimes looks even less appealing; the image seems to be composed of curved, rather than straight edges. Second, I like to include the complete width or length of a page in my photographs because this provides a context for the image you are photographing. This lessens the likelihood that a buyer will be unhappy when they discover that the giant picture which appeared on the auction page is in fact only one inch high image in the book. This image shows the entire width of the page which gives a sense of the image's size on the page.
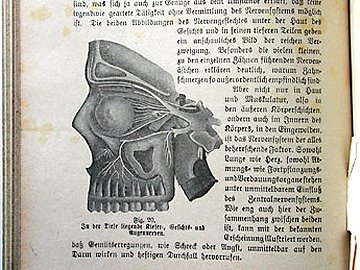
When photographing smaller images, showing the entire width or length of the page is not always feasible. In this situation I will include some of the surrounding text to give some perspective to the image's size.

Let's get back to correcting the curvature problem in the internal organs image. The curve which appears at the upper and lower edges makes the pages appear taller near the spine. I prefer edges that are more square to the edges of photograph. To achieve this effect, I place a bookend underneath the rear cover of the book, just as I did when photographing the title page. But in this case this still isn't enough to flatten out the pages lying on the front cover. However, by placing a second bookend on top of the first bookend I created a higher lift on the back covers.
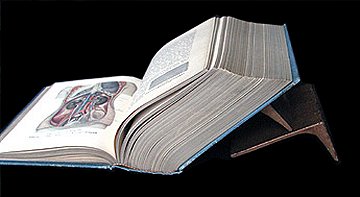
I was then able to stand above the book and take this photograph of a page that is now square to the image borders.
Note that there is still some curvature to the edges, but leaving this in shows the book in a natural state, which I find more appealing. Squared pages provide both the information I am trying to convey and an enjoyable image. It makes the picture a picture.
>>>>> Article continues on next page >>>>>
Questions or comments?
| Forum
| Store
| Publications
| BookLinks
| BookSearch
| BookTopics
| Archives
| Advertise
| AboutUs
| ContactUs
| Search Site
| Site Map
| Google Site Map
Store - Specials
| BookHunt
| BookShelf
| Gold Edition & BookThink's Quarterly Market Report
| DomainsForSale
| BookThinker newsletter - free
Copyright 2003-2011 by BookThink LLC
|

|